Kitchen Task Lighting: How to Balance Brightness and Warmth
It was half past four on a Tuesday in November, and the winter darkness had already engulfed the entire backyard. I stood at the kitchen counter, halfway through dicing an onion for Henrik’s favorite potato soup.
I realized I was actually squinting and couldn’t see the knife’s edge clearly. Not because the kitchen was dim—it wasn’t. In fact, the overhead lights were on, and the kitchen was generally well lit.
But the light was wrong. Flat. White-blue. The kind that makes a kitchen feel like a hospital corridor at 2 a.m. And yet there was not enough light on the chopping board.
This website participates in the Amazon Associates program. As an Amazon Associate, I earn from qualifying purchases. It also participates in the Impact and AWIN affiliate programs. If you buy through links on this site, I may earn a small commission at no extra cost to you. Thank you for supporting The Hugged Home.
You Don’t Need Cold Light to Chop an Onion
Next week, I visited my Danish friend Astrid to explain the problem with my kitchen lights. We were standing in her kitchen, her hands wrapped around a mug of something cinnamon-heavy.
She said, “You don’t need brighter lights, you need task lighting.” But that was not all. She continued, “We don’t use the big light, and we never use cold, white light.”
Then she pointed under her cabinets. Three warm LED strips, glowing the color of late afternoon. “Don’t confuse brightness with color,” she said. “They are not the same thing.”
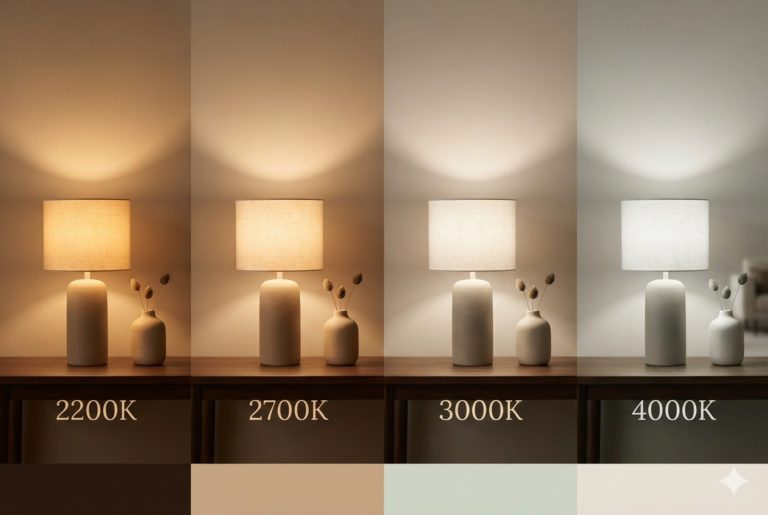
She was right. And this is the single most important thing to understand about kitchen task lighting: Kelvin and Lumens are separate dials.
Kelvin controls the color temperature—how warm or cool the light appears. Lumens control the actual brightness—how much visible light hits your cutting board.
You do not need 4000K clinical white to julienne a carrot safely. You need lumens. Plenty of them. But delivered at 2700K or lower. Always.
Why does this matter beyond aesthetics? Because light above 2700K suppresses melatonin production and triggers cortisol-linked alertness in the evening hours.
Your circadian rhythm reads blue-white light as “noon, be productive, stay tense.” A kitchen lit at 3500K at 6 p.m. in November is telling your nervous system the sun is directly overhead. It isn’t. And your body knows it.
2700K mimics the warm tail-end of sunset. It tells the brain: the day’s work is winding down. You are safe. Slow down now.
The Three-Layer Kitchen Lighting Formula
A single overhead fixture cannot do what a winter kitchen needs. You need three distinct layers working together. In our kitchen, it took one Saturday, two trips to the hardware store, and Henrik muttering about wire connectors. Worth it.
Layer 1: Task Lighting (Where the Knife Meets the Board)
This is the functional core. Under-cabinet LED strips deliver focused, high-lumen light directly onto your prep surfaces without flooding the whole room.
We installed three 10-foot strips of Philips Hue Smart LED Solo Lightstrips beneath our upper cabinets. Each strip pushes 170 lumens per foot.
That’s 510 lumens of warm, 2700K light landing squarely on the countertops where I do my chopping, measuring, and stirring.
Bright enough to read a recipe without squinting. Warm enough that the kitchen still feels like a room in a home, not a commercial kitchen.
The recessed ceiling spots and the island pendant sit on dimmer switches. During heavy Sunday prep—roasting, baking, the full chaos of Maja and Freya “helping”—I push them up.
When dinner is ready to be served, I dial everything down to a low amber hum.
Philips Hue Essential Smart LED A19 Bulbs work for us. These smart bulbs are perfect, as you can vary the temperature from 2200K to 6500K. I love these bulbs! They are easy to install and give the desired lighting for any room.
Layer 2: Ambient Lighting (The Overheads Go Off)
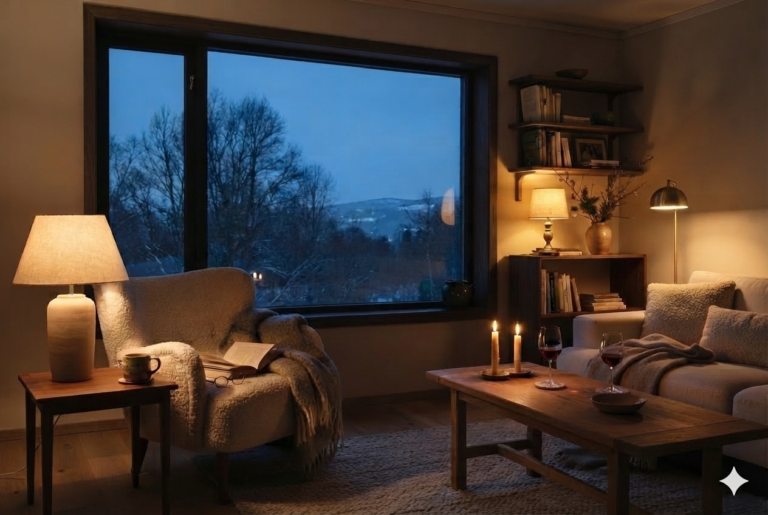
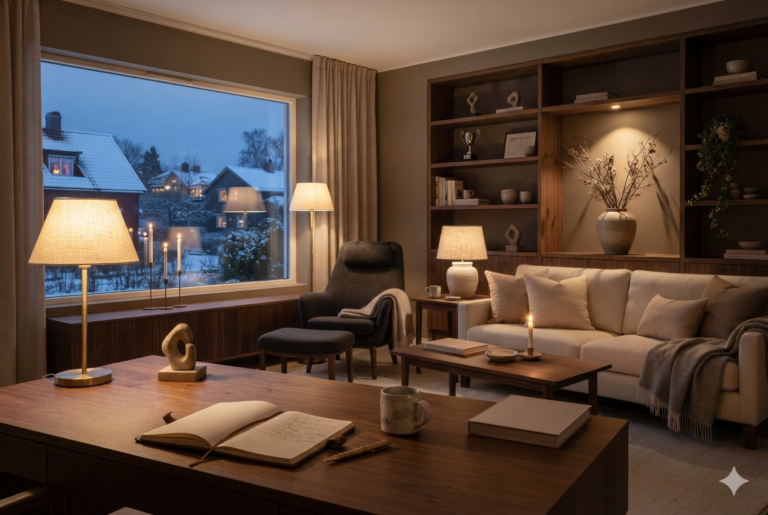
Once the cooking is done, the overhead lights die entirely. In their place, two small table lamps with linen shades take over. One lives on the far counter near the fruit bowl. One sits on the windowsill where Björn holds court some nights.
They don’t illuminate the room. They create low pools of warm light. Pockets. The kitchen becomes a place you linger in rather than a place you perform tasks and flee.
Layer 3: Accent Lighting (The Layer Most Kitchens Miss)
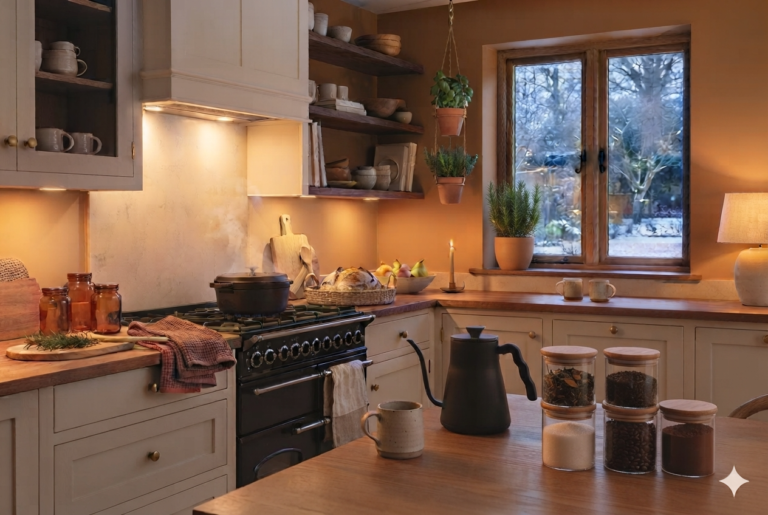
On an open shelf above the stove, I keep a low-wattage lamp aimed at my collection of baking spices in amber glass jars. Cinnamon, cardamom, star anise. The light catches the glass and throws a faint honeyed glow against the tile.
On the coldest nights—the kind where the wind off the lake makes the windows rattle—I add three candles in glass containers on the island. Not for light, exactly. For movement. The flicker. A small, living landscape in the center of the room.
Levende lys. Living light. Astrid’s word for it. The Danes have a word because the Danes understood this centuries before the rest of us caught up.
Kitchen Task Lighting by Zone: Where the Light is Needed
A single strip under the cabinets won’t cover every work surface in your kitchen. Proper kitchen task lighting means treating each prep zone as its own small project. In our kitchen, that broke down into four areas.
The Stove and Rangetop.
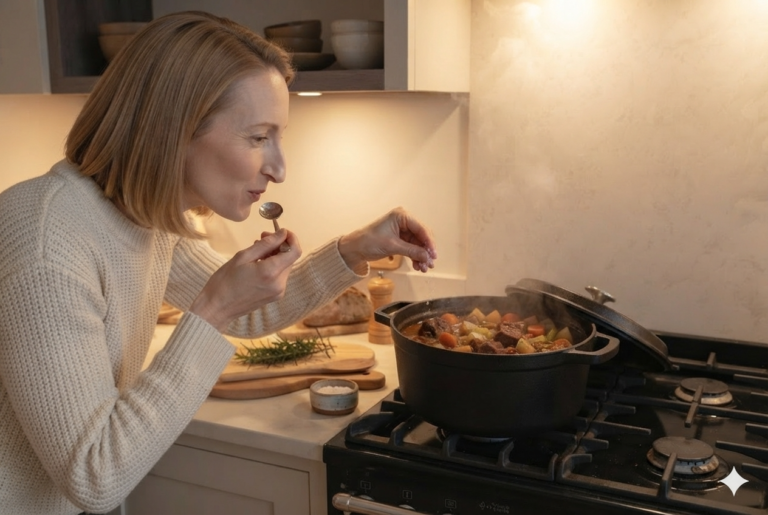
This is where Henrik does most of his weekend braising, and where shadows are most dangerous—steam, splatter, a hot pan you need to see clearly.
We mounted two small, warm-white LED spotlights directly above the cooktop, angled slightly forward so the light hits the burners rather than the backsplash.
If you have a range hood with built-in lighting, check the bulb. Many ship with 4000K halogens. Swap them for 2700K LEDs. Five minutes. A small screwdriver. Worth doing tonight.
The Sink.
I wash vegetables here. Maja “helps” wash vegetables here, which mostly means she splashes water onto Björn, who has taken to watching from a safe distance atop the refrigerator.
A single under-cabinet strip above the sink eliminates the shadow your body casts when you face the faucet. Aim for at least 300 lumens in this zone. You’re handling a knife over running water. You need to see what you’re holding.
The Island.
Our pendant hangs roughly 32 inches above the countertop—low enough to pool light onto the surface, high enough that Henrik doesn’t clunk his forehead when he leans in to stir.
The bulb is a high-CRI 2700K LED, pushing 800 lumens, on a dimmer. At full brightness it’s task lighting for rolling out pastry dough with Freya.
Dimmed to thirty percent, it becomes ambient. Same fixture. Two jobs.
For the overhead lights, we went for a Philips Hue Wireless Dimmer Switch; it’s easy to install and control! We rarely use it, though, from October through March.
The Pantry and Deep Cabinets.
A small, battery-operated puck light inside the pantry means I can find the cardamom without dragging every jar onto the counter. These are the cheapest kitchen task lighting upgrade you can make.
Ours cost eleven dollars. I stuck it to the shelf with the adhesive pad it came with. Done.
Choosing Kitchen Task Lighting Fixtures That Work
Not all warm bulbs are equal. Three specs matter more than brand or price.
Color Rendering Index (CRI).
This measures how accurately a light source reveals true color. A CRI of 80 makes a ripe tomato look slightly gray. A CRI of 90 or above makes it look like a tomato.
For kitchen task lighting where you’re judging doneness, checking for mold on bread, or telling paprika from cayenne, aim for CRI 90+. It’s printed on the box. Look for it.
Lumens per foot (for LED strips).
Cheap strips output 80–100 lumens per foot. That’s a nightlight. For genuine kitchen task lighting over a cutting board, you want at least 150 lumens per foot.
Our Philips Hue strips hit 170. You feel the difference immediately—the shadow under your knife hand shrinks, the grain of the maple board becomes visible, you stop leaning forward and squinting.
Dimmability.
Every kitchen task lighting fixture should sit on a dimmer or connect to a smart hub. Fixed-brightness task lights lock you into one mode: full work or nothing.
A dimmer lets the same fixture carry you from Saturday-morning pancake chaos at full brightness to a low, golden wash when you’re just heating leftovers and want the room to feel soft.
Henrik installed Phillips dimmers on the recessed cans and the island pendant. Took him an afternoon. He grumbled the entire time. They work beautifully.
Four Kitchen Task Lighting Mistakes I Made So You Don’t Have To
I got this wrong twice before it clicked. Astrid finally sat me down at her kitchen table, poured coffee, and walked me through the errors like a patient doctor reviewing a chart.
1. Placing lights behind your shoulders.
If the only under-cabinet strip is mounted at the back edge of the upper cabinet, your own body blocks the light and throws a shadow across the cutting board.
Mount strips toward the front edge of the cabinet so the light angles down onto the counter in front of you.
2. Mixing color temperatures in one sightline.
The recessed cans were 3000K. The pendant was 2700K. The under-cabinet strips were 4000K. The kitchen looked patchy, disjointed, like three different rooms stitched together.
Match every visible fixture to 2700K. One temperature. Whole room.
Note: Mixing 3000K, 2700K, and 4000K is the classic, disastrous kitchen lighting mistake.
3. Skipping the dimmer to save forty dollars.
Forty dollars. That’s what it cost to retrofit the island pendant with a dimmer switch. I skipped it for eight months.
The pendant glared at us every evening like an interrogation lamp. Don’t be me. Buy the dimmer.
4. Forgetting the cleanup phase.
Kitchen task lighting isn’t just for cooking. After dinner, I’m wiping counters, loading the dishwasher, sweeping crumbs off the tile.
The under-cabinet strips at half-brightness handle this perfectly without dragging the overhead fluorescents back on. The room stays warm. The chore stays contained. Björn stays asleep.
The Evening Dim-Down: Letting Task Lighting Rest
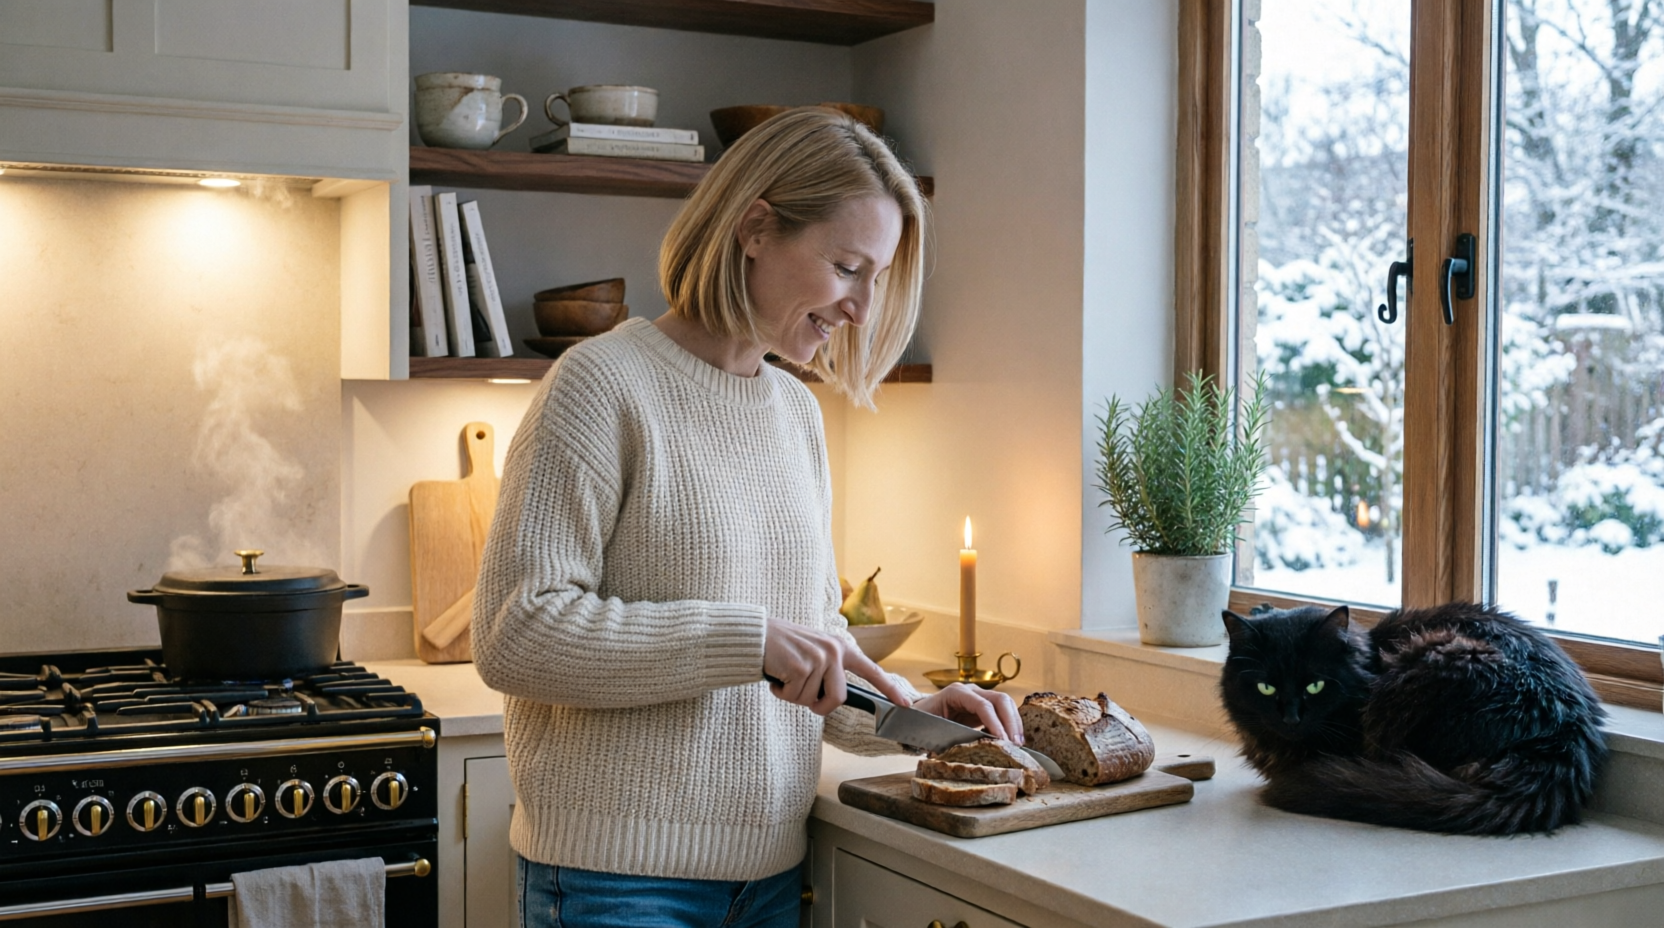
By 8 p.m., the knife work is done. The Dutch oven is cooling on the stove, its black enamel ticking faintly as the metal contracts. This is when kitchen task lighting should step back and let the ambient layer take over.
I dim the under-cabinet strips to twenty percent. The island pendant drops to a low amber glow. The overhead spots go off entirely.
What remains is warm, low, and directional—enough light to find the dish towel, not enough to convince your brain it’s still Tuesday afternoon.
This transition is not a luxury. It’s the 2700K rule doing its quiet biological work. Melatonin rises. Shoulders drop.
Freya asks for a second clementine. Maja reads at the island with her chin propped on her fist. Henrik’s glasses slide down his nose, and he doesn’t push them back up.
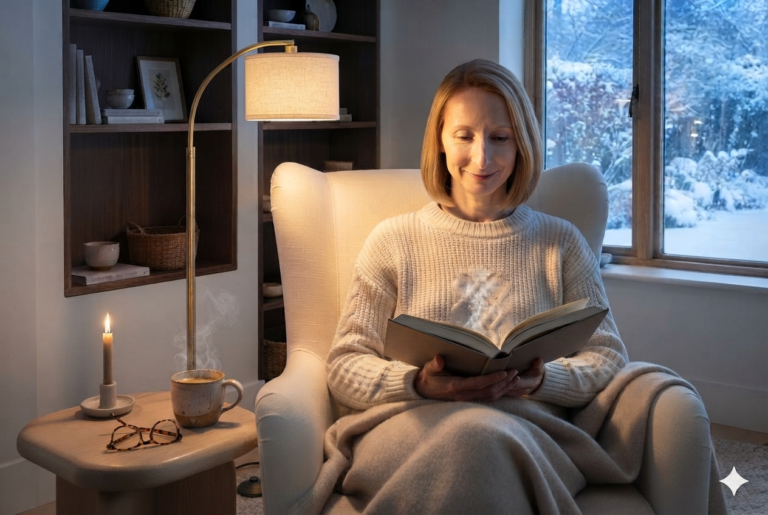
The kitchen is no longer a workspace. It’s the warmest room in the house.
For more on layered lighting, check out The Complete Guide to Layered Lighting [→ Layered Lighting].
For everything else, start with The Complete Guide to Hygge Home Decor [→ Hygge Home Decor].
Light a candle. Slow down. Hygge.
— Elise